11.15.2010

the one where i'm glad i saved a bit of the junk.

i must admit that most days you could accurately & unabashedly call me a pack rat & it would be true. it's an inward struggle for me... wanting to be re-useful/resourceful with my house somehow magically not filling up with unused junk.

a tough balance to find.

in fact, if you saw this sitting in my craft room, i'd give you full permission to make a little fun of me [seeing as how i've almost thrown them in the recycling at least a dozen times]:
that's right... a giant ziplock bag of probably almost every baby food lid jar kenna ever ate from [confession: i saved the jars too.] for me, the absolute best way to find an amazing and clever use for some junky old thing is to throw it away and find yourself stuck saying aww i used to have one of those! so to get to the point, last night i made the first christmas ornament of the season after seeing this adorable tutorial [i also want to do the rag balls for bowl fillers and the baby fingerprint ornament!] for this one, i used a jelly jar lid instead of the little baby jar lids, mostly because it already had the beautiful red gingham design on the back [thank you, smuckers!].
it was quick and easy to put together, fun to make, and i did the whole thing while watching half a movie and chatting with my hubby who had just gotten home from work.
wait... still needs something...
much better.
and now i'm glad i saved that giant bag of jar lids.

11.13.2010

fall mantle!

i know i'm way behind on this one, but i wanted to chronicle our porch here & it just never really got finished. we have some pumpkins and stuff, but nothing awe-inspiring. so here is just my mantle and a little front door wreath!

i really really really love fall decorating. i mean really. and i wish decorating my whole house in general came together as easily and with as much fun as decorating the mantle does! i love mixing and matching non-season-specific things, using color and texture to make them seasonal by adding a couple of things that are season-specific like those teeny-tiny little pumpkins. just like pulling out all the ornaments at christmas and putting them on the tree, i love it just as much to pull out my fall decorations and gather anything yellow and orange from the house and putting pumpkins on the porch!

mantle:
i left the dollar store paper bag wreath on the mirror & tucked a little ring of faux leaves into the center [from target's $1 spot last year].
i "shopped the house" for other fall-ish looking things... a green vase and a green tin container holding dried branches, a yellow pitcher that used to hold wooden spoons by the stove, and a picture frame & little cream "b" that both usually stay on the mantle year-round. i added my fall banner that i made last year [using this tutorial] and my orange fabric flower sprigs to the branches [purchased here on etsy].

then i filled in some space with two little grapevine pumpkins [also from target's cheapo area last year- $2.50 each] two little mini real pumpkins from the grocery store, and one big pinecone found on a walk. my favorite new addition this year is this little harvest sign, bought half price from rite aid of all places! i played around with lots of ideas to make this myself, but when it came down to it, this was exactly what i wanted for a less than $3 price tag. can't beat that!
y'all already know my love for constantly re-using my twig wreath [i'm cheap like that]... here is its fall incarnation:
i wrapped a wire of orange and reddish beads around it [purchased with a half-off michael's coupon, it was only about $2] and then added a little friend that came poked into a flower arrangement from last year [free since i saved him!]. and hey, pumpkins & stuff count all through thanksgiving/november, right?

happy fall, everyone!

11.12.2010

headband-y goodness!

There are just not enough flower headbands in my life- an inexcusable offense considering the endless amounts of adorable tutorials for them out there! the minute i saw this felt layered flower tutorial, i knew it was headband time.

i have a tiny stash of this eco-felt in the perfect shade of green that i've been hoarding. you know when you like something so much you almost look for reasons not to use it? i wanted something fun and un-like-me to wear during my craft show this past weekend, so i decided it would be perfect for the felt.
for mine, i left off the littlest flower & did a fabric covered button instead. come to think of it, the fabric scrap i used for the button and the velvet ribbon i covered the headband with are all like that... my favorites that i almost hate to use. but better to use & enjoy them than them sit in your craft room all alone forever, right? and what better way to use & enjoy them than to wear them on your head in public, right? right.
so i cut out the flower petals, stacked them up as directed, and hot glued the whole shebang together. then i glued ribbon to the headband and tucked under the ends so it would be nice and a little extra padded behind the ears. [the headband was a $2 clearance number from target that i ripped the ugly pink bow off of before i even got it home.] i don't have any pictures of the hot gluing steps because i glue gun at night in my super dark kitchen like i'm going to get arrested for it or something. i'm a rebel like that.
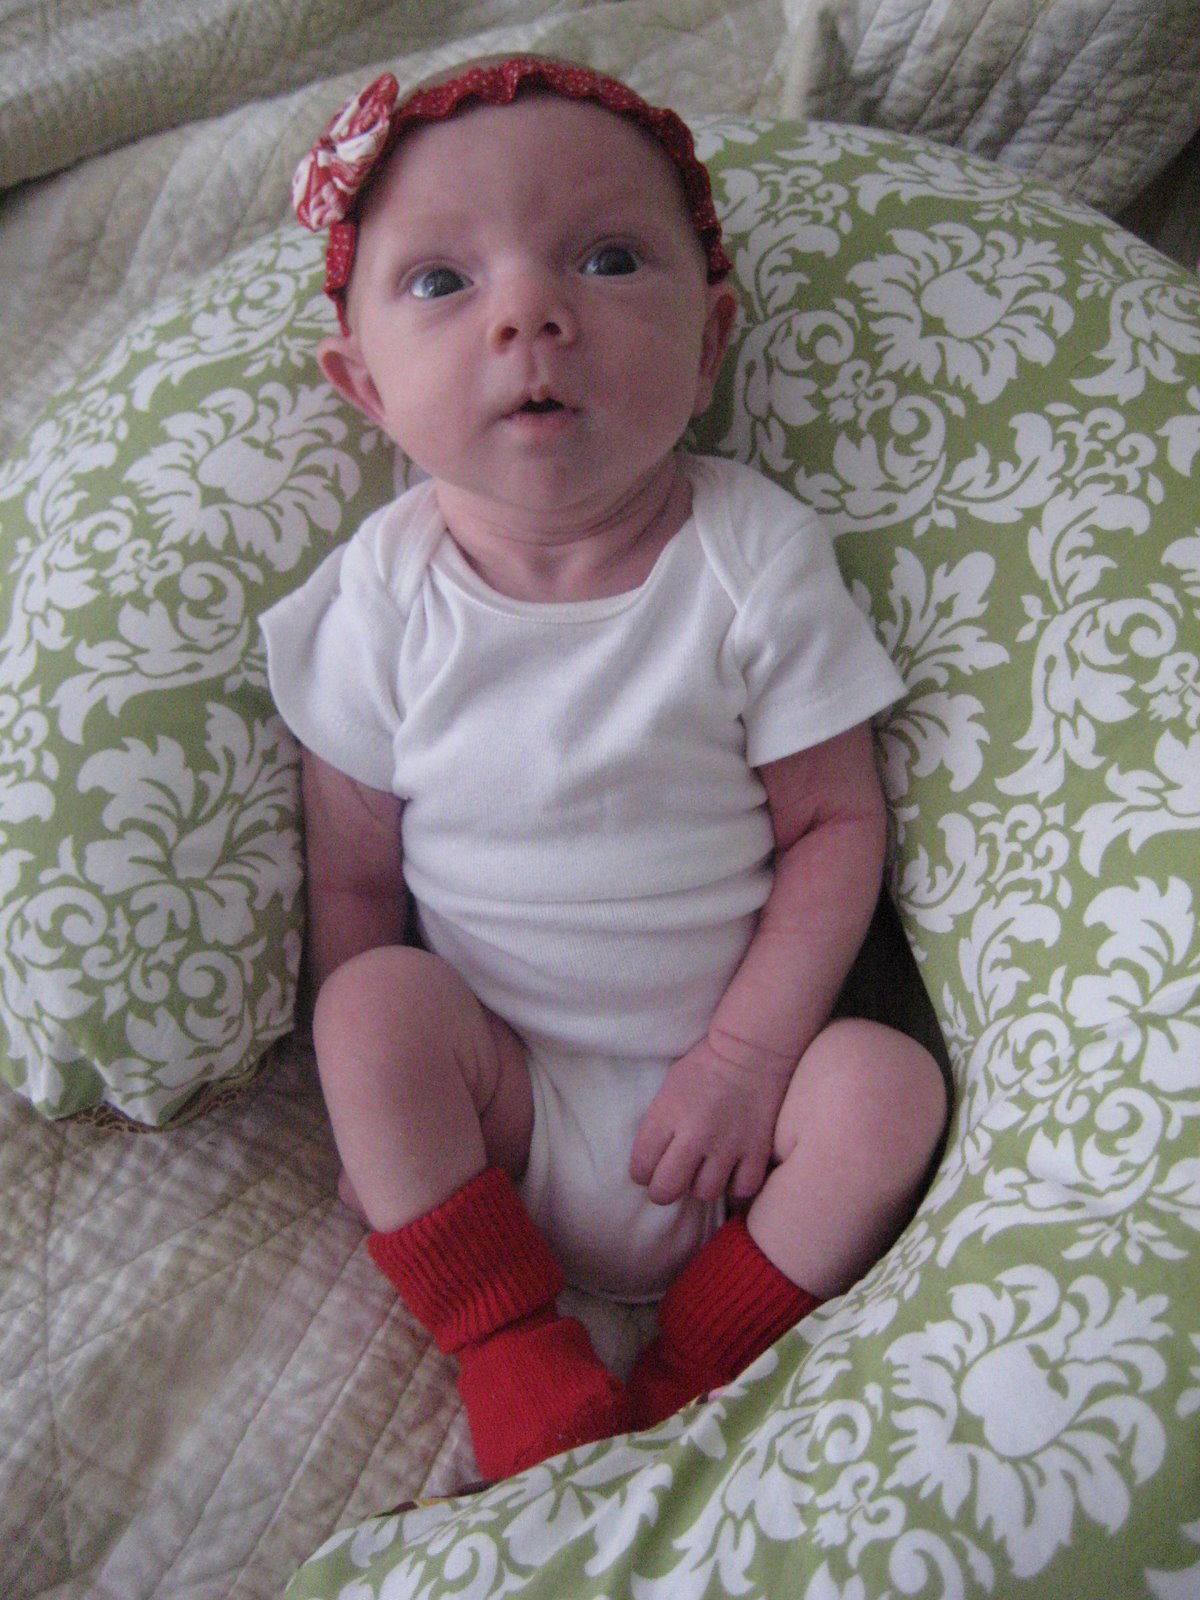
and knowing the accessories-stealer that my little one has become, i couldn't make momma a cool flower headband without making her one. [i'll have to watch out for that girl as soon as she can fit in my shoes!] so for hers i did the exact same thing in pink eco-felt with a little tiny pink gingham button at the middle. for hers, i kept the tiny flower but left off the huge biggest one to make it more little-head-sized.
instead of a metal headband, i just stitched a loop of white elastic big enough to fit her head comfortably and glued it all together as well.
i backed the flowers on both of them with a little felt circle to make it look finished & a little more sturdy [we're tough on our accessories around here.] i really love the sturdiness it adds!
ta da! girlie flower headbands. what could be better!
while i was at it, i also tried out a good tutorial and made this little gal. i love how it looks like the top of a cupcake, and think it will be just the thing for a certain somebody's 2nd birthday coming up in a few weeks [although it would have been beyond perfect for last year too!].
next time i'll use a better clip, this one is hard to open once it's all glued together.
now i'm thinking little one & i both need a way to store our headbands so that the flowers don't get crushed... maybe this looped ribbon one or an oatmeal container with secret storage inside [if you're not a big oatmeal eater, try out these awesome no-bake chocolate cookies from my friend's recipe blog!] oooh and surely we both need a ruffle headband!
[ps- i'm feeling like a terrible crafty momma since this is the last headband i've made for my little girl]:

11.09.2010

painting tiny furniture!

i think because i am crafty, i have a bit of a sickness when it comes to leaving something too plain. granted, this can backfire on me when i start trying to craft something up and it ends up overdone and tacky, and i want to throw the whole thing away despite my hours of wasted work, time and supplies. but every once in awhile, i see something plain and just have a vision for how i want it to look instead... and it actually turns out that way.

my perfect example is this sweet little wooden toy crib that kenna's grandmother got her for her first birthday. i loved it, but the paint needed a little touch up. and i decided i could just touch it up, or i could bust out the craft paint and touch. it. up.

before:
my vision was for little brown and green stems with two shades of pink flowers on them around the edges, a tiny bit orla kiely-y, to go with her new pink and green big girl room. and across the front, above where the little baby doll's head would be, a painted word almost like a little headboard.

so i started by spray painting the entire thing light pink to freshen it up. then i got out a little paintbrush, free handed the stems, and then free handed the flowers with little leaf shaped petals in light pink, and little dots in dark pink.
then i painted "bebe" [french for baby] with what i've been mentally referring to as the "pencil transfer method." be patient, i had to paint about 4 layers of these tiny letters before they showed up as dark as i wanted them to.
unbelievably enough, it worked out geniusly and turned out exactly as i wanted!

after:
i'm loving how it looks in her room with her newly green walls, and she is already loving playing with it! so fun & girly... yay!
[granted, it only took me almost exactly a year after she got it for her birthday to begin with...shh, we won't dwell on that.]

11.08.2010

after craft & bake 2010.

so craft & bake was this past weekend, and yowza, what a great show! i have to start with a hugemongous thank you to lots of friends, family, and awesome customers who stopped by to say hello & show their support! i had a lot of what i consider success with this show- encouraging ideas, great feedback, and lots of inspiration of how to improve petite bee and how to move forward with leaf&letter!
two things i'll keep in mind for next time:

#1 i made a fun felt flower headband on a whim at the last minute just to have something fun & festive to wear during the show. i should have made them to sell because so many people asked about it! i'm still doing a bit of research re: how to make them the best i can, but i'm pretty sure some fun flower stuff will be incorporated into leaf&letter when it launches, and i'll post soon on how i made it!

#2 several lovely ladies at the show asked about purchasing things later, when i'd have my non-bib stuff available on etsy, etc. and my standard answer was to give them the link to my little blog space here [another note to self: should have printed up "coming soon" cards!] my apologies to you as i should have taken down your information to make it easier on you. i must be more proactive next time!


lastly but most importantly- thank you to all of you who placed orders for bibs, who took a card to remember me for later & who made a purchase. i can't describe the thrill of someone loving something you have made with your own two little hands enough to pay their hard earned money for it, so again, just a really big thank you!!!

[ps- a big thank you also to my amazing husband who chased our 2 year old all day by himself and brought me lunch, sandwiched by helping me set up & tear down. i love you best friend!]

11.03.2010

craft & bake preview!

for the first time ever, i'm offering a preview of what i'll have available for sale at the southeastern craft & bake sale this coming weekend! i'm SO excited about it. i had an amazing time last year, and have been looking forward to it since then! i feel more prepared in advance than i ever have for any show i've ever done, and i think that is adding to a lot of the excitement. add that to having made lots of new stuff and weeded out some of the old stuff that felt, well, tired and old.

the newcomers:

lots & lots & lots of bibs! [see the individual designs here]
little reusable cuffs to cozy your coffee... not sure what to call them yet. coffee cozies? coffee cuffs? [meant for paper coffee cups, not glass, instead of the disposable cardboard ones!]
chapstick cozies on a keyring. i pretty much love having all my essentials in one place so that i can, every once in awhile, ditch the diaper bag and just take the keys & phone.
and the ribbon bangles i hinted about a few weeks ago:

the old favorites:

button magnet sets:
tons and tons of earrings:
and fabric coaster sets:
there will also be some crocheted scarves, monogram bag tags, and maybe a few other suprises...

i love being a part of our school [my husband & i both attend classes], and for how supportive and amazing the women i've met there are. this show is so much fun because of the type of women running it, participating in it, and the families shopping at it! because of those reasons, my prices are significantly altered for this show to include as many as possible in the shopping fun... nothing is worse than going to a craft show where you're basically standing in a room full of awesomeness but can only reasonably justify buying one or maybe two things! it's a great way to get some fun christmas shopping done.

and did i mention it's a bake sale too? last year i sat two tables down from the most delicious homemade cupcakes ever. i probably shouldn't say how many i bought during the day. cupcakes, people. while you're shopping.

for now, i'm off to make some chalkboard price tags. if you are local to the raleigh/wake forest area, i hope you'll come say hello on saturday!

10.28.2010

mustard. not just a condiment.

starting with my new cowl i just finished, i've become a bit obsessed with mustard yellow accessories... which is good because i've been seeing them everywhere!

at the end of the summer, i got these little sandals at target:
and now that the weather finally chilled out i'm looking at these very longingly:
and then ended up making ribbon-wrapped bangles in a mustard-y color:
i'm totally in love with all the rosette headbands i've seen all around... i've thought about trying to make one, but i'm awfully tempted to just buy this amazingly pretty one by the mustard seed co:
when i was in the mountains a few weekends ago, i saw this cute mountain chick in a coffee shop, and while i didn't quite have the bravery to take a picture of her on the sly, she was wearing a really cute multi-strand stone necklace [with a long gray cardigan and a really awesome ear warmer] similar to this one by dana leblanc designs:
yep. gonna have to make something like that one too.

my clothing tends to be way too on the neutral side, so a bit of color here and there has been really fun and a great transition to fall! there are some lovely grays and purples and browns out in stores that would look beautiful with mustard accessories if i could just work up the nerve [and a little cash] to branch out of my same-old-same-old. now if i can just resist the urge to wear everything yellow all at the same time...

LinkWithin

Related Posts with Thumbnails