12.19.2012

diy paint stick barn star!

i really wanted to hang a red wooden barn star on our plain white front door this year. i'd seen some at an antiques fair/open house thing i went to on my birthday, but just couldn't justify $30 bucks for one. when i got home and couldn't stop thinking about them, i went scrounging in my craft room to see if i had anything that could work. lo & behold, my good friend the simple paint stirrer came to my rescue!

-what you need: 10 paint stir sticks, red craft paint, hot glue & large silvery thumbtacks [optional]

-i started as always by cutting off the curvy part of the stir sticks & sanding the cut edge [i use a little handsaw to score both sides & then it snaps right off!]
 -give all your star 'legs' a swipe of red craft paint. i just painted right over the orange home depot printed side!
 -lay out your star 'legs' into a star shape on the floor
-hot glue each of the 2 'leg' sections to make the 5 pointy sections to make the star. cut the pointy part off of your thumbtacks with strong wire cutters & glue them on top of each connection spot.
 -repeat for all 5 sections of the star. if you don't like the way the star shape is turning out, you can gently pop the glued parts apart & reposition.
 ta da! you have a barn star! i love the way it turned out, but i do think i'm going to pop mine apart a little bit & readjust- it turned out a little wonky & looked much better the way i originally laid it out on the floor. just needs a little tweaking!
i put a large plastic snowflake hanging behind it on our front door & i absolutely love how it looks! it adds so much color & festive to our front door!

12.18.2012

hymn page crosses!

i found these little paper mache crosses the same day i bought my stars at hobby lobby. i thought they'd be pretty fun to prettify, especially since my husband is now a pastor & we're celebrating our first christmas at our new church! speaking of, even if you don't work at a church these would make awesome 'little something' gifts for your pastor, sunday school teacher, church pianist, etc if you're looking for one more handmade but easy & inexpensive gifts!

-all you need is: a paper mache cross [or other shape], hymn or book pages, plain white school glue & glitter glue
-spread glue on one front side of your cross &h stick the paper to it, smoothing out bubbles gently. let it dry. if you'd like, you can carefully position the paper so that a special song title is centered on the cross [like i did with the 'amazing grace' one]
-once the glue is completely dry, carefully cut around the shape, leaving a little bit of a border. gently tear away the border to leave a jagged edge. careful not to tear it off the cross!
-add glitter glue around the edge of the paper. repeat on the back if you'd like. add a jute loop with hot glue for hanging!


12.17.2012

sparkly jar lid ornaments!

remember me writing about feeling guilty for straight-up hoarding some [ok, lots of] baby food jar lids from my [now 4 year old] daughter's food?

ahem. well i found another use for them!

sparkly 'gemstone' jar lid ornaments

i made these together with my 4 year old daughter & she absolutely loved it! they were super easy, not very messy & there's really no wrong way to do it [always a plus with kiddo crafting!]. since she loves 'my little pony' she called these gemstone ornaments & i thought that was pretty cute. she was pretty proud of herself... waiting to let them dry to put them on the tree was the hardest part! this one was a pinterest project that i snapped right up because i knew my big girl would love them.
 -what you need: any size/type jar lid you want to use, some acrylic faux gems with the mirror backs, some elmers or tacky glue & some silver glitter glue. oh & twine for hanging. our 2 little packs of gems [from hobby lobby] were enough for about 6 jar lids]
-prime your lids if they're not already a pretty metallic color, or if you want to cover up any writing

-hot glue a loop of twine inside the circle. if you forget, you can glue them to the backs & cover it with a felt circle. i may or may not have had to do that on 2 or 3 of them...
 -hand them over to your sweet assistant in her my little pony dress-up dress to glue the gemstones into the lid. get them nice & full & don't worry if some of them flip over... the mirrored backs look pretty too & will really reflect the christmas tree lights!
 -let the glue dry & then outline the gems in silver glitter glue. this will make them sparkle so much more & make them look like the gems are 'set' in the glitter. let dry again & then hang them on the tree!

12.16.2012

glittered felt star ornaments!

these are a mini version of the anthropologized star ornament of a few years ago... i really enjoyed how they turned out & when i saw some of the same paper mache stars i'd used [except mini!] at hobby lobby, i picked up a few... i couldn't resist at just $1.17 each.
here's the original with one of the new ones for size reference:
i followed my original tutorial exactly, other than after gluing the felt circles around the edges of the stars, i worked from the outside edges in, instead of gluing them randomly. if you read the tutorial, that will make sense.

i also added a little something extra this year... i lined the edges of each little circle with glitter glue. this gives the ornament some dimension & i love the contrast of the cozy felt glammed up by the glitter! perfect to make it a bit more christmas-y. i had several types of glitter glue, so they all got a bit of a variety of the brightness of glitter.
 the more lightly glittered ones almost don't show up in i have to say though, that i really love the bright, saturated glitter the best! i did 2 colors, an ivory felt with silver glitter & an oatmeal felt with gold glitter:


love these so much!

12.15.2012

paper pinwheel garland!

this project must have been hiding somewhere in my subconscious, because i didn't realize until i finished it that it's exactly like a mini version of one by the wonderful aka design. i had these little chipboard 'joy' letters that i'd been saving for the perfect project, so this was it!
they popped out really easily & i gave them a couple coats of gold shimmer paint on their already-white backgrounds. [i saved the backgrounds the letters punched out of- i'm sure i'll think of something to use them for... maybe a wreath like create studio's vintage stencil one? or just another simple garland!]

the paper pinwheels could not have been easier & were really, really fun. i had also squirreled away this little hymnbook that my grandmother gave me [it has my uncle's name written in the front cover in his little kid handwriting from back in the day- cute!] it was really perfect in size for the letters! i used 3 pages for each pinwheel. here's how:

-fold the pages like an accordion
-fold each accordion in half like a fan

-hot glue each side of the 3 folded accordions together

-be sure to secure the center with glue so it doesn't 'pop' out

 -paint or glitter your letters as you like

-hot glue the letters to the pinwheel's center

[sorry... more late night crafting!]
i thumbtacked a bit of ribbon over the playroom door & clipped the garland to it with clothespins. the draped jute right behind it is the perfect spot to hang our christmas cards! so easy & cute!

you can also make these out of regular book pages instead of hymns, & can make them into ornaments instead of stringing them into garlands- just poke a hole for some twine or clip them right to the tree branch with a clothespin!

12.14.2012

flippy bookpage trees!

i knew i wanted to include some new little tabletop trees to my decor this year- i wanted something a little more neutral than the ones i've made in the past. i decided to try a variation of the curly book page trees you see everywhere, except i didn't want mine quite so curly- more like flippy.

flippy bookpage trees

i was in the dollar tree, planning to get some party hats to use as my tree bases when i saw these! i was seriously irrationally happy that they're carrying these this year & seriously resisting the urge to hoard up 20 or 30 of them...
i was standing there with 2 of them in my hot little clutches, thinking how much i wished they had a bigger size, when i just happened to think of these floral foam bases:
 put them together, and presto!
my little secret to get hot glue to stick to these without melting the foam is to wrap them in masking tape. so, since i was going to wrap them in masking tape anyways, i just started by wrapping the 2 pieces together  & then wrapped the rest as usual... making a tree of the same size, except slightly taller! love it!  it worked like a charm, & ya'll, i felt like a genius!
[please excuse the terrible dark crafting-at-night photos- it's terribly un-blog-worthy, but the only time i can get any crafting done in peace with little ones!]

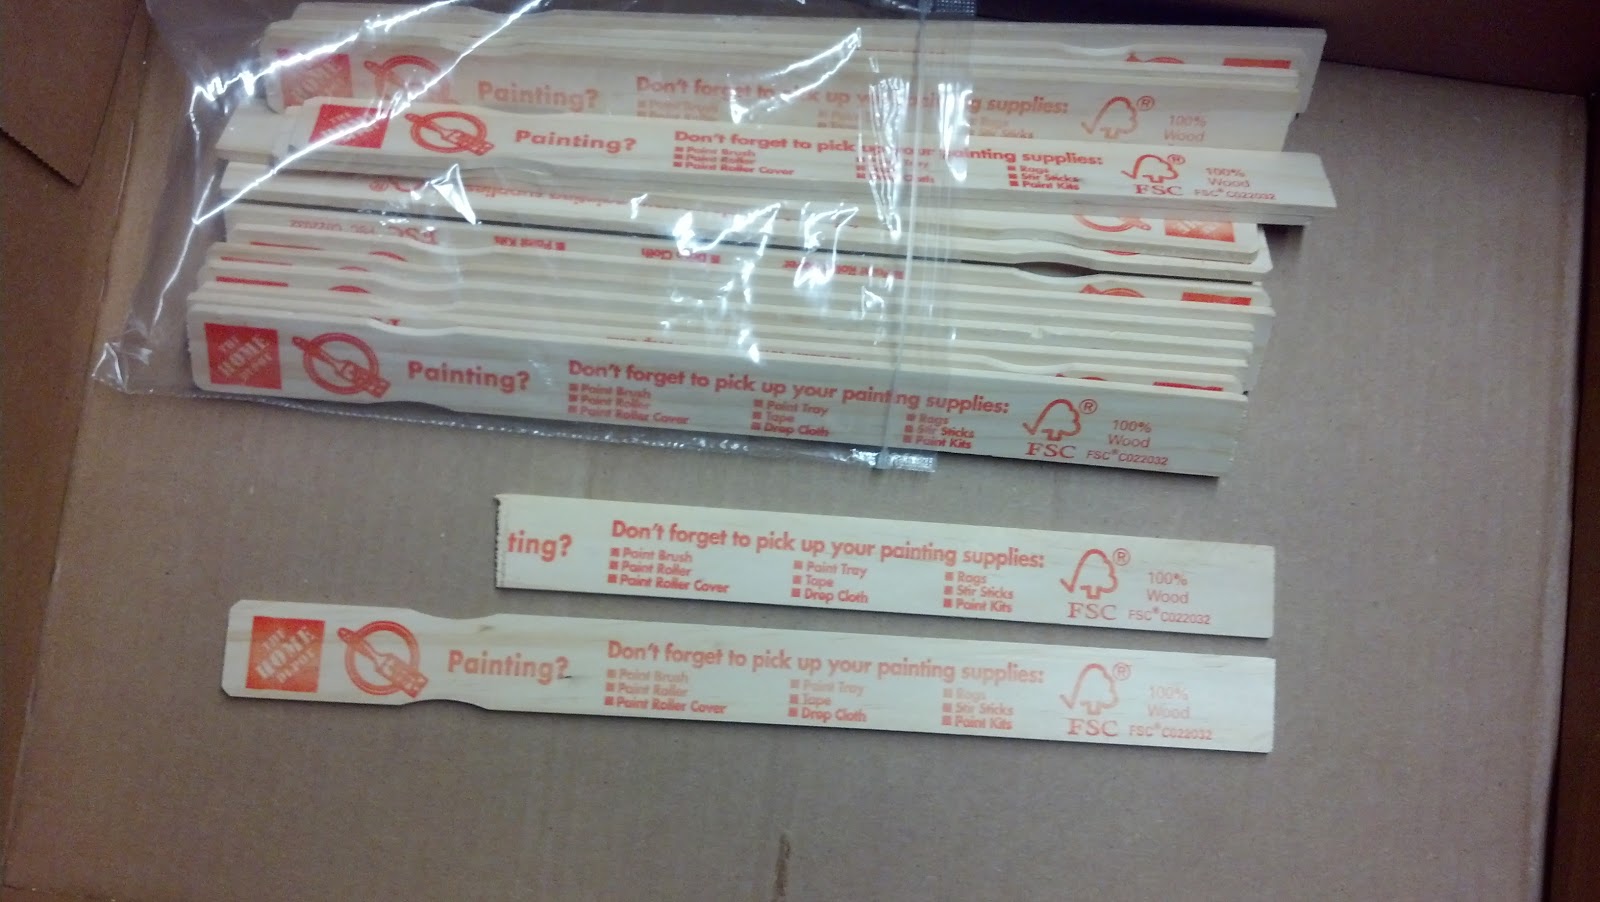
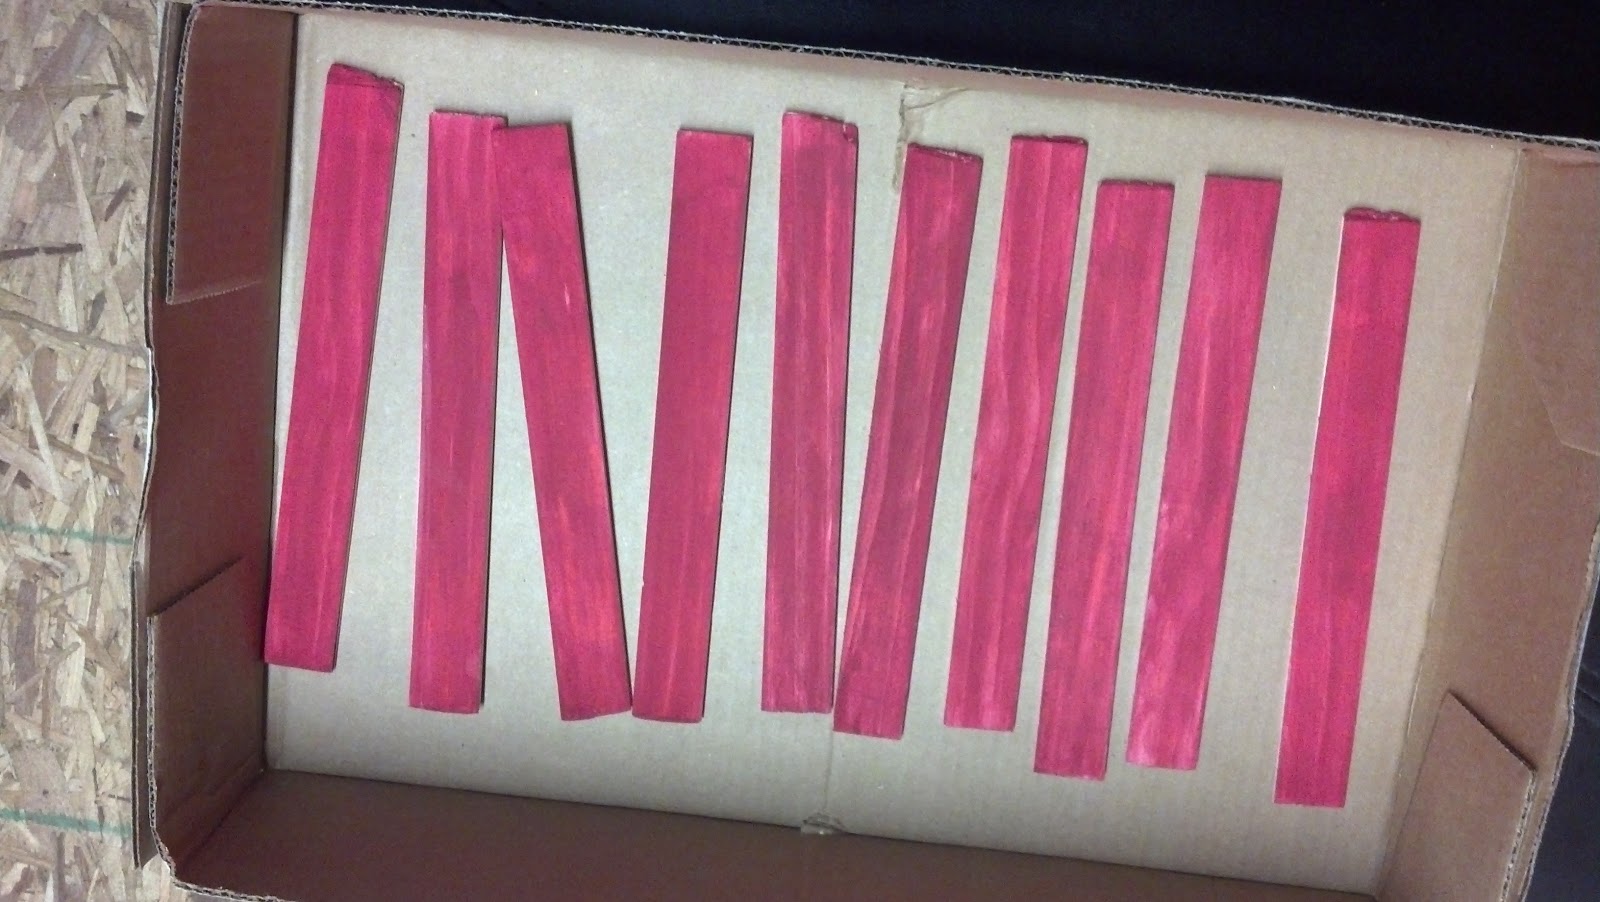
all i did from there was tear some book pages into strips, cutting a fringe in one half of the long side. i bent up the fringe ever so slightly until it looked like a little skirt. the non-fringed edge is what you glue to the cone:
 i cut a circle of paper to fit the tops & bottoms exactly & also added a solid strip at the bottom so the cone wouldn't show through the first row of fringe. keep gluing your fringe strips all the way up the tree from bottom to top!
 at the top, just make sure your top fringe is even with the little circle. you can add a star or leave it plain, of course. gently brush your hand up the fringes from the bottom to the top to fluff it up a little.
and done!

i'll be putting mine are on my thrifty candlesticks, to give a bit of background to our nativity. stick around a few more days to see what i did with the smaller 2 dollar store trees!

12.13.2012

craft clay snowflakes!

these little snowflakes are about as easy as it gets... just 2 items necessary [although you can certainly jazz them up a little more if you like!].
 all you need is white air dry craft clay, such as crayola, & some cute snowflake cookie cutters! you literally just ball the clay up, roll it out with a roller [i let my 4 year old do it herself with a roller from her toy kitchen] & then cut them out with the cookie cutters!

if you want to leave it at that, you totally can. it's that simple! we decided they needed a little something extra... the first one we tried stamping with a clean, dry rubber stamp for a little texture:
then we decided they were a little too solid, so we used a plastic straw to punch out some tiny circles to make them a little more lacy & snowflake-y [which i realized after the fact i'd need to do anyway to have something to hang them with!] they took a few days to fully dry & then i used a little piece of jute twine to hang them. i also painted a tiny bit of glitter glue over them to give them a bit of shimmer.
i thought these would be super sturdy & great for kiddos to do [& they were, my kid loved it!] but they were  surprisingly fragile after they dried! they were really lightweight, which is good, but the first one i tried to tie the jute into tore right through. we were a little bummed! next time i'd probably do these with good old white playdough, which dries much harder.

12.12.2012

craft stick nativity!

i have lots to share since we just moved & have been hard at work getting a few rooms painted, some furniture arranged just so & lots of things hung on the wall! i'm about 26 weeks pregnant with this little one #3, so i'm so thankful my hubby has been a driving force to getting it done quickly.

but, as usual, all must come to a halt for my favorite crafting season... christmas crafting! i went a new direction this year & so, instead of using all our traditional ornaments, i'm starting almost from scratch with some super simple & rustic handmade ornaments & decorations!

craft stick nativity

i waxed quite poetic last year during my no-budget christmas decor series about my love of craft sticks (aka popsicle sticks). so when i saw this super cute & simple nativity idea on pinterest, i knew it would be the perfect project for my & K to get to work on! here is our interpretation, hanging on her colorful little playroom tree:
no real tutorial for this one, it's pretty straight forward with different sized craft sticks (see this post for where i found each size) & painted to look like a nativity! next time i'll use a wooden star instead of a glittered paper one & a jute loop instead of a pipe cleaner for hanging- both to make it a bit more durable.

i'm just now realizing we left off the angel! we actually made these on a sunday night for our children's church group, intending to decorate the church's tree with them- but K loved hers so much we somehow forgot to take it back for the decorating party. we may just have to make another one for church!

11.06.2012

fall mantle in the new house!

it's really fun to pull out your seasonal decor in a new home you've just moved into- you get to use all the same old things in new ways because they're going in new places! it can be a little overwhelming, but fun & exciting too!

our fall mantle looks a little different now since we don't have a fireplace or true mantle in the new house. but that didn't stop me from hanging one of my white crown molding style shelves over the buffet i inherited from my mom in the dining room, which has provided lots of decorate-able surfaces!

this is how i put it together for fall... so much fun!


the only new additions were those little mini pumpkins from dollar tree [which i plan to wrap in jute or paint & replace the plastic stems with real sticks], the tiny orange basket pumpkins on the candlesticks & some leaves from our backyard! the little orange bowl is also pumpkin shaped & from the target dollar spot [wish i'd gotten more!]

i also still need to wrap my second lamp in jute! it obviously hasn't bothered me enough to get on it yet.

10.30.2012

a pre-move home tour

during the month of october we've been moving to a new house. that doesn't just mean we have a new house waiting to be made a new home, but also a new town, a new church, a new job for my husband [at the new church] new doctors, new routines, & in the spring, a new baby in the family!

that's a ton of new.

as we're packing up the old house & making trips back & forth to the new one, i thought it would be fun to put together a home tour of what it looks like right now- not only to remember & show the kids later, but to see that i really do finish a project every once in a blue moon! it looks quite a bit different since the last one i did last christmas [the last time i did a home tour], since i'm a chronic re-arranger & can't leave well enough alone when it comes to crafty decorating.

entry foyer
before:
currently:

entry foyer projects:

living room
before:
 during:
 currently:

living room projects:
gallery wall
empty frame to mood board
little blue end tables
i made the leaf pillow, but apparently never wrote about it!
the chunky wood lamps were also thrifted, & the gorgeous round green family art was custom handmade through a local shop- it was my anniversary present last year!

den/playroom
before:

 during:


currently:


den/playroom projects:
little frames on the side tables
additional sources:
the toy storage is an ikea expedit [bought used on craigslist] with target dollar spot buckets, the black coffee table was a $25 flea market find, the baskets under the side tables are from kmart, & the ocean painting on top of the expedit was painted by my hub's grandmother!


dining room
during:

currently:


dining room projects:
giant coffee filter wreath
i'll fully admit the dining room never got to the point of what i would call an 'after.' i spent lots of time on the living room/den/playroom & the master bedroom since that's where we spend lots of our time. but i did do some little tweaks here & there!

guest bath
before:

after:
guest bath projects:
stenciled shower curtain & jute wrapped hooks

master bedroom
before:
currently:


master bedroom projects:
refinished bedside tables
additional sources:
all our bedding is from tj maxx/homegoods, i made the yellow pillow out of 2 napkins, & the yellow shades you probably recognize from target!


big girl room
before [our guest bedroom]:

during:

currently:


big girl room projects:
i made all of the Ks above her window except for the chunky hot pink one, which was from michael's. you can tell i do most of my crafting for my kiddos- my big girl especially is so fun & easy to please! the paper lanterns are from target/michael's/various dollar places, & the striped rug & most of her bedding was target clearance or hand-me-downs.

baby boy nursery
before:


during:
currently:


 boy nursery projects:
paint stick letters
big paper mache letter
repurposed twig baby mobile [tutorial coming!]
wood bible verse artwork [tutorial coming!]
distressed dresser

i also made the little twig wreath out of sticks from the park & a ring cut from cardboard, & a good friend reupholstered our rocking chair cushions as a baby gift!

i'm excited to share some new projects as we get into the new house & start decorating for thanksgiving & 2 birthdays in november [not to mention christmas rapidly approaching...]

LinkWithin

Related Posts with Thumbnails