Showing posts with label tutorials. Show all posts

12.19.2012

diy paint stick barn star!

i really wanted to hang a red wooden barn star on our plain white front door this year. i'd seen some at an antiques fair/open house thing i went to on my birthday, but just couldn't justify $30 bucks for one. when i got home and couldn't stop thinking about them, i went scrounging in my craft room to see if i had anything that could work. lo & behold, my good friend the simple paint stirrer came to my rescue!

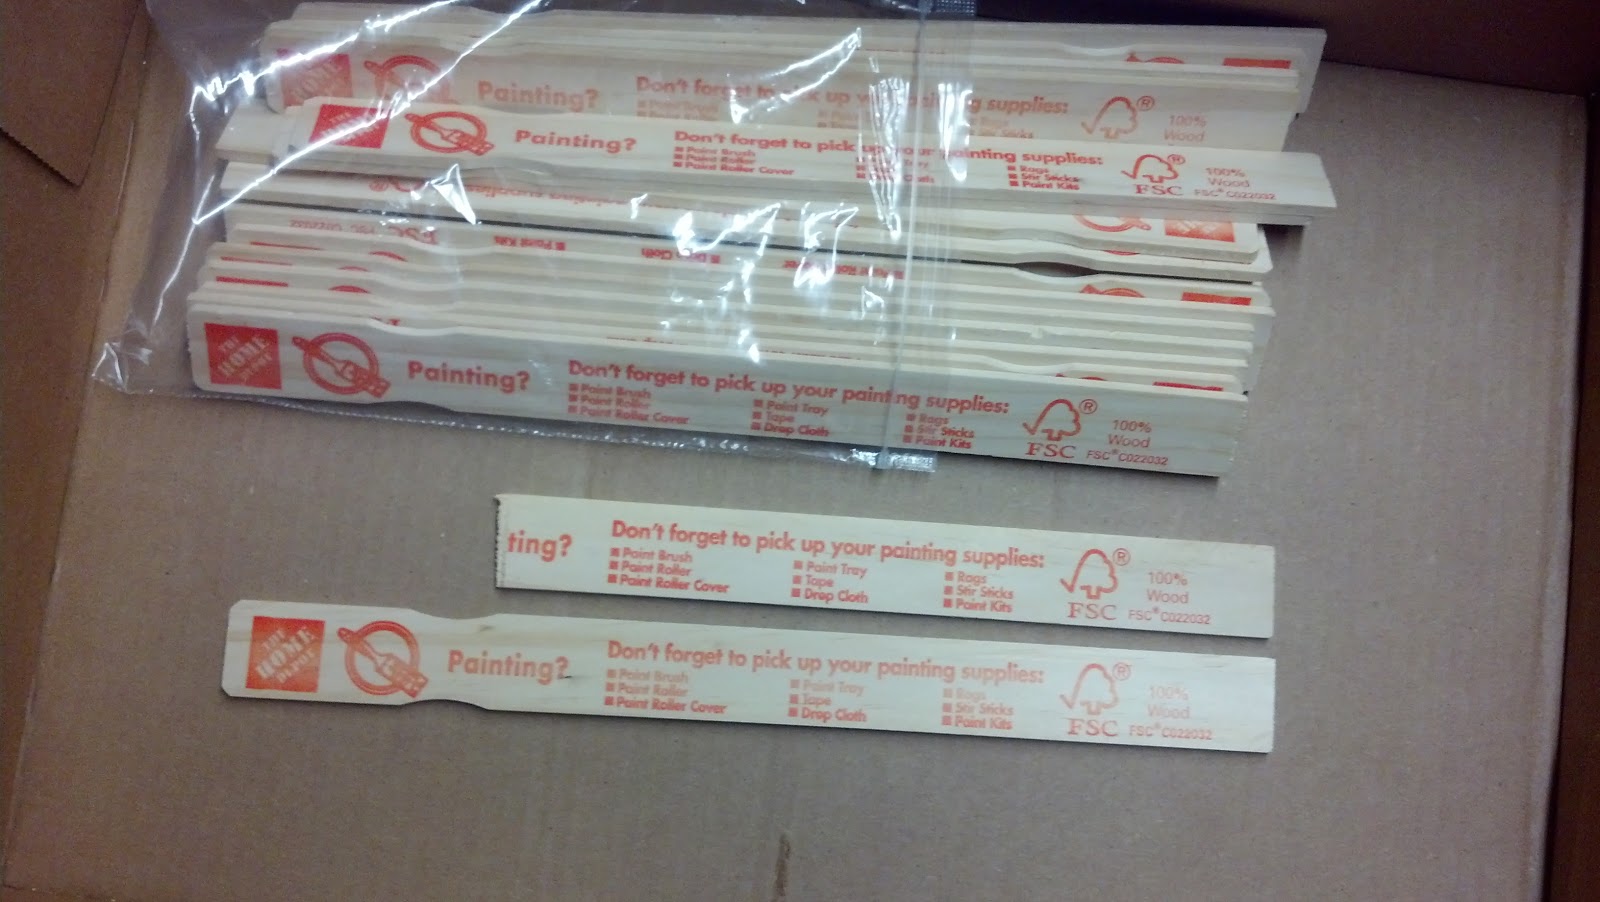
-what you need: 10 paint stir sticks, red craft paint, hot glue & large silvery thumbtacks [optional]

-i started as always by cutting off the curvy part of the stir sticks & sanding the cut edge [i use a little handsaw to score both sides & then it snaps right off!]
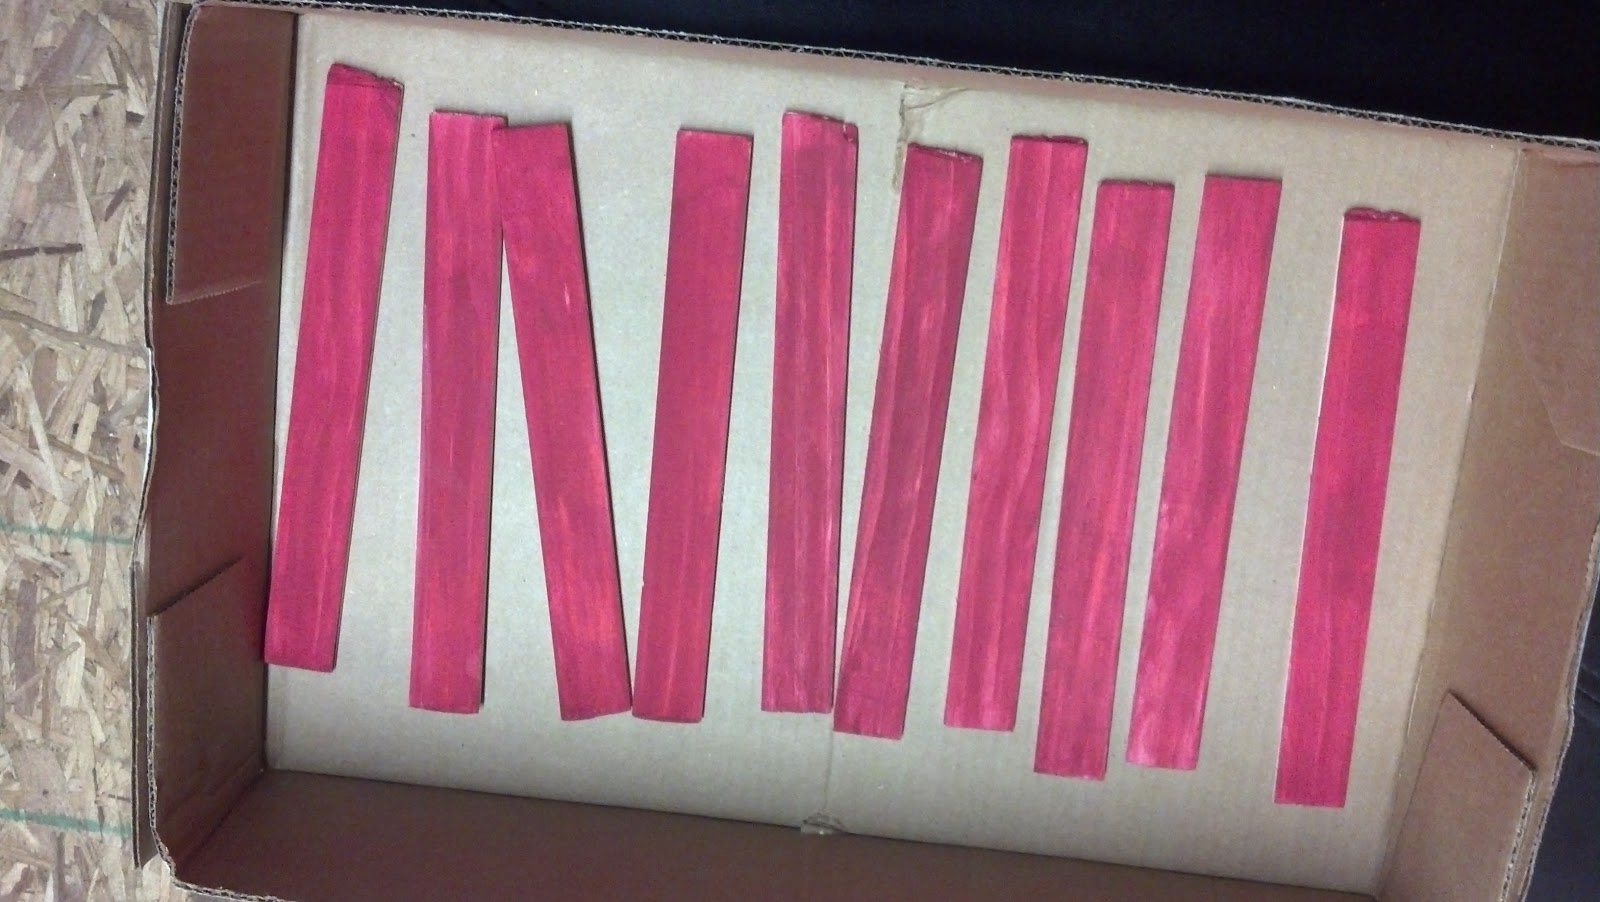
 -give all your star 'legs' a swipe of red craft paint. i just painted right over the orange home depot printed side!
 -lay out your star 'legs' into a star shape on the floor
-hot glue each of the 2 'leg' sections to make the 5 pointy sections to make the star. cut the pointy part off of your thumbtacks with strong wire cutters & glue them on top of each connection spot.
 -repeat for all 5 sections of the star. if you don't like the way the star shape is turning out, you can gently pop the glued parts apart & reposition.
 ta da! you have a barn star! i love the way it turned out, but i do think i'm going to pop mine apart a little bit & readjust- it turned out a little wonky & looked much better the way i originally laid it out on the floor. just needs a little tweaking!
i put a large plastic snowflake hanging behind it on our front door & i absolutely love how it looks! it adds so much color & festive to our front door!

12.18.2012

hymn page crosses!

i found these little paper mache crosses the same day i bought my stars at hobby lobby. i thought they'd be pretty fun to prettify, especially since my husband is now a pastor & we're celebrating our first christmas at our new church! speaking of, even if you don't work at a church these would make awesome 'little something' gifts for your pastor, sunday school teacher, church pianist, etc if you're looking for one more handmade but easy & inexpensive gifts!

-all you need is: a paper mache cross [or other shape], hymn or book pages, plain white school glue & glitter glue
-spread glue on one front side of your cross &h stick the paper to it, smoothing out bubbles gently. let it dry. if you'd like, you can carefully position the paper so that a special song title is centered on the cross [like i did with the 'amazing grace' one]
-once the glue is completely dry, carefully cut around the shape, leaving a little bit of a border. gently tear away the border to leave a jagged edge. careful not to tear it off the cross!
-add glitter glue around the edge of the paper. repeat on the back if you'd like. add a jute loop with hot glue for hanging!


12.17.2012

sparkly jar lid ornaments!

remember me writing about feeling guilty for straight-up hoarding some [ok, lots of] baby food jar lids from my [now 4 year old] daughter's food?

ahem. well i found another use for them!

sparkly 'gemstone' jar lid ornaments

i made these together with my 4 year old daughter & she absolutely loved it! they were super easy, not very messy & there's really no wrong way to do it [always a plus with kiddo crafting!]. since she loves 'my little pony' she called these gemstone ornaments & i thought that was pretty cute. she was pretty proud of herself... waiting to let them dry to put them on the tree was the hardest part! this one was a pinterest project that i snapped right up because i knew my big girl would love them.
 -what you need: any size/type jar lid you want to use, some acrylic faux gems with the mirror backs, some elmers or tacky glue & some silver glitter glue. oh & twine for hanging. our 2 little packs of gems [from hobby lobby] were enough for about 6 jar lids]
-prime your lids if they're not already a pretty metallic color, or if you want to cover up any writing

-hot glue a loop of twine inside the circle. if you forget, you can glue them to the backs & cover it with a felt circle. i may or may not have had to do that on 2 or 3 of them...
 -hand them over to your sweet assistant in her my little pony dress-up dress to glue the gemstones into the lid. get them nice & full & don't worry if some of them flip over... the mirrored backs look pretty too & will really reflect the christmas tree lights!
 -let the glue dry & then outline the gems in silver glitter glue. this will make them sparkle so much more & make them look like the gems are 'set' in the glitter. let dry again & then hang them on the tree!

12.16.2012

glittered felt star ornaments!

these are a mini version of the anthropologized star ornament of a few years ago... i really enjoyed how they turned out & when i saw some of the same paper mache stars i'd used [except mini!] at hobby lobby, i picked up a few... i couldn't resist at just $1.17 each.
here's the original with one of the new ones for size reference:
i followed my original tutorial exactly, other than after gluing the felt circles around the edges of the stars, i worked from the outside edges in, instead of gluing them randomly. if you read the tutorial, that will make sense.

i also added a little something extra this year... i lined the edges of each little circle with glitter glue. this gives the ornament some dimension & i love the contrast of the cozy felt glammed up by the glitter! perfect to make it a bit more christmas-y. i had several types of glitter glue, so they all got a bit of a variety of the brightness of glitter.
 the more lightly glittered ones almost don't show up in i have to say though, that i really love the bright, saturated glitter the best! i did 2 colors, an ivory felt with silver glitter & an oatmeal felt with gold glitter:


love these so much!

9.10.2012

stenciled shower curtain!

i'm so proud & excited to share this project with you! it's been a long time coming [& finishing!] & i just love it so much!

i'm embarrassed to tell you how long i've lived with this sad little plain white shower curtain. unfortunately, the internet does not lie. well, you know what i mean. the things you write stick around for awhile... my own blog gives me away. here's a post from april 2007, almost 5 years & 3 houses ago, where i talked about wanting to change up my plain white shower curtain. here it is in our current guest/kiddo bath:
our second bath is tiny with no windows, so i wanted to bring some fun color in with the accessories. my hubs absolutely loves yellow & it reminds me of the happy time when we first met... the only thing i knew about him at all was that his favorite color was yellow & i still wanted to marry him!

little did i know how hard it is to find yellow bath accessories without some kind of duckie theme. i was thinking more chic graphic prints. the bathroom decor actually started 2ish years ago with some bright yellow floral towels  from world market & a fun diamond print yellow & white fluffy bath mat from garnet hill, 2 of my main little decorating splurges when we first moved into the townhome.

back to the the plain white shower curtain. i played around with lots of ideas... sewing ruffles to it, sewing strips of fabric to make big stripes, appliqueing a big monogram on it, & painting a chevron or some sort of trellis/gate/greek key kind of print on it. but nothing was really jumping out at me.

well, when i saw jones design company's stenciled wall, i thought maybe i could pull it off not on a wall, but on my little shower curtain by continually cutting the shape out of freezer paper, ironing it on the curtain to form the pattern, & then painting with fabric paint!

so that is what i did.

i downloaded the stencil & cut out 102 of the shapes. [not all at once- i did a few at a time so it didn't feel so overwhelming.] i used emily's awesome tutorial to place the pattern & iron it all down. the shower curtain was originally a waffle weave, which made it really easy to line up the pattern somewhat centered & then fairly evenly towards the edges. here, i had laid it out to iron more shapes on, they were nearly impossible to see without the already-painted sections showing!
then i spread it out onto a big piece of cardboard on my dining room table one afternoon & started dab dab dabbing the yellow fabric paint on in sections with a cheapo sponge brush, really squishing the paint down in the waffle weave. i used tulip soft fabric paint, which is God's gift to crafting, in the color 'sunshine yellow.' i had one bottle on hand from a previous project & ended up using about 2 & a half of the larger bottles total. not too bad with a couple of michael's coupons! i made sure to do touch ups after the first coat dried before i moved onto the next section.

it took me forever to finish because i had to spread it out on several different surfaces several different times- i did the ironing of the freezer paper shapes on my bedroom and living room floors, and did the painting on my dining room table twice [with large cardboard or a plastic tablecloth underneath] & in the basement on my 'painting table' once.
i decided i wanted to keep a strip of plain white along the top where the grommets are, so i didn't have to worry about trying to iron the shapes or paint around the grommet edges. there was a seam there that made it really easy & i think it helped the overall curtain look much more finished:
when i reached the edge, i was usually able to cut off part of the shape & replace it somewhere else to complete the pattern:
it really didn't take as long as you're probably thinking, although between cutting out all the shapes, ironing them on & then all the painting, i have no idea how long total it took me. if you don't truly love the crafting process, maybe it is more worth it just to drop the $30 bucks for one at target. but i do looooove how it turned out & it's fun to have not only a completely specialized curtain [with no sewing, yay!] but i was also able to use the one i already had. there are, of course, a few little spots where the paint bled just a bit, but not so noticeable that i'm in a hurry to do touch-ups:
overall, i was really pleased at how well the freezer paper stuck to the curtain, but yet were also pretty easy to peel off when i was done & the paint was dry. & they didn't leave any strange or sticky residue whatsoever!
when it was all done, i couldn't wait to get all the 'sticker shapes' peeled off & get it hung up!
 super cute with my yellow damask towels:
 it's definitely not an instant-gratification craft, but it makes me smile every time i see it from down the hallway. it looks exactly like what i intended [which rarely happens for me] & i just can't tell you how much color & spunk it adds to our little windowless bathroom!
my little silver hooks were a bit sad & plain too. so they got a coiled jute treatment to add some texture up in there. took all of 10 minutes & i totally love the change. it was extremely easy since they are so flat & round! i just rolled a little coil of jute, stuck it to the middle of the circle with hot glue &  then kept coiling & gluing until the whole circle was covered. & again, i got to re-use what i already had, but make them better!
all told, i think this is definitely one of my favorite, if not very favorite, projects i've completed to date! let me know in the comments if you have questions or attempt this too, i'd love to see yours!

now, what else can i stencil?

8.29.2012

how to make a custom chore chart!

my husband & i decided that at almost 4 years old, our big K bear is big enough to start her very own chore chart to earn special treats and toys! after seeing lots of really cute and customize-able ones from other bloggers out there, i decided to go ahead & make our own for her so that we could have it exactly customized to her little jobs around the house. we purposely picked jobs that she already is fully able to do on her own, & also added in 2 attitude-related ones as well. i also changed 'chore' to 'contribution' to emphasize the positive- we help each other in our family because we love each other!
i wrote 'contribution chart' along the side of a piece of white card stock in marker & then decided to use stickers from there. big colorful letter stickers indicate the days of the week [i guess she gets a break on the weekends, hah!] & then used 'item' stickers that would represent her jobs. i ended up also writing the job underneath each picture, mostly in case M & i forgot what the were.
once it was all decorated & stickered up, i took it to staples to get it laminated. it only cost about a dollar & greatly improved the chart itself! now it will hold up a nice long time, makes it easy to reuse over & over, and is fully wipeable/re-sticker-able! [you can also use magnets to fill the little squares.]
the attitude-related ones are ones we talk about constantly in our house, being a big helper [obeying & doing something quickly when asked] & having a grateful heart [saying please & thank you & having a good attitude!] these are things we want to reinforce in our kids anyway, & if K can earn a sticker for it, she's all the more motivated!
the little happy face stickers are from the dollar spot teacher supplies at target. i like them because they're small enough that more than one can fit in each little square of the chart & there's also a ridiculous amount of them in the package for just a buck! win.

her prizes are also ready & waiting [& taunting her a little, unfortunately!]. as you can see she's heavily into my little pony right now & the tinkerbell night light is from the dollar tree. we try to keep each prize under 2 or 3 dollars & she earns one by filling up the whole chart. [sometimes we may surprise her by giving a small treat after she's filled up a day or 2 & of course we show grace if not every single little square is filled.] it's been fun finding little cute things that we know will excited her & adding them to the prize stash to surprise her with later!
 i'm really excited about rewarding my babe for her already pretty great behavior. i'm blessed with such sweet kiddos!

6.28.2012

pinteresting: fabric wrapped chandelier!

sometimes there are beautiful lovely creative ideas that are so pretty you just have to pick up right away & go make your own interpretation of it! such was the case when i saw this completely adorable fabric wrapped/tied lampshade [she calls it a scrappy lampshade] by lindsey at the pleated poppy:
so creative & colorful & perfect for a little girl room, right? except i didn't have/need a lampshade for K's room, so i started with this white wire basket from the dollar tree, & lots of strips of fabric leftover from making my fabric wrapped bangles.
then i snipped the bottom off with some metal snips. i figured i could rig it somehow to hang from her boring builder-grade light fixture in the middle of the room [our whole house has them. blech.] i chose to snip the entire bottom right up to the edge like this:
but if i was going to make a lampshade with it i would have left a little border to hang it with like this:
then i started wrapping the top and bottom, mostly to cover the sharp edge:


please excuse the weird bump- i originally tried to tie a new strip on & then wrap the knot to hide the starts & finishes but later just ended up tying them & leaving the ends out & it looked much better. then the rest was just picking fun colors & trying to space them out, weaving them over & under, and knotting them to start a new strip when each one ran out!
...until the whole thing is covered. it was a very fun and a pretty quick project depending on how many little encouragers you have helping you, full of freshly-napped what-doin-momma energy.
and here it is hanging in her room:
i ended up rigging it over her existing 'bulb' light... i just took off the glass cover & hooked the edge of the basket onto the little screws that normally hold the glass bulb onto the light fixture on. the small edge of the basket actually fit perfectly around the metal base of the fixture. we put the glass bulb away & also removed the lightbulb since i wasn't sure if it would be a fire hazard with the fabric touching the metal base. 
so here's to finished projects & thanks lindsey, for the inspiration!

LinkWithin

Related Posts with Thumbnails