12.16.2011

no-budget christmas decor! framed letters.

remember these large & cheap frames i found at goodwill a while back? [& by cheap i mean cheap. 11x14ish frames for $1.50 each!]
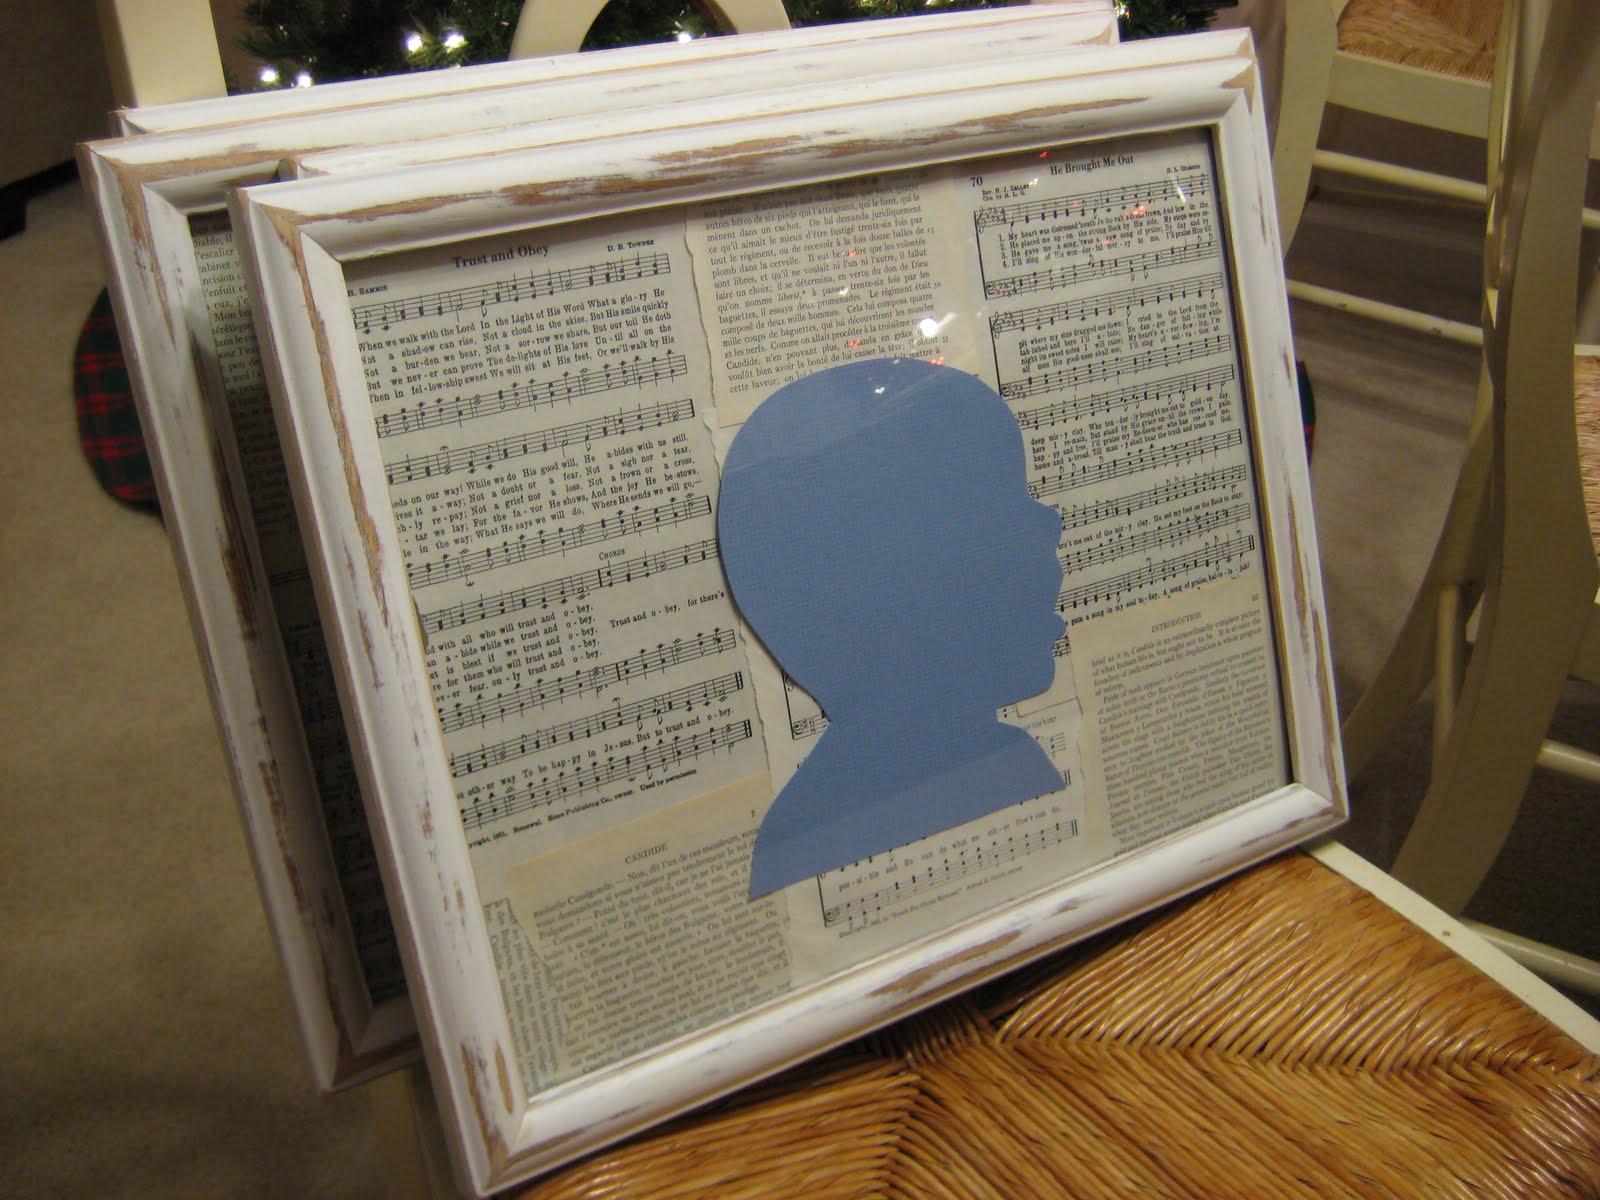
i originally planned to use 4 of them to hang silhouettes cut from paper, one for each member of our family. i did a little distressing to the white frames with sandpaper, and glued down a mix of book pages, french pages & old hyms directly onto the cardboard backing [super easy with spray adhesive!].
i stuck the ill-fated silhouettes directly on the book pages as the background. the silhouettes of the kids turned out absolutely adorable, but the ones of hubs & i were, well, let's just say less than flattering.

on to plan b: i cut out some letters from red scrapbooking paper to spell 'noel.'
the contrast is great & i absolutely love how the frames, well, frame the large mirror! fills up a lot of empty dining room wall space in a lovely, inexpensive way.
and when christmas is over, any 4 letter word will work! (haha). i'm thinking 'home' or even 'love' for around valentine's.

have you framed anything a little unexpected recently?

here are the other no-budget christmas decor ideas:

paper snowflakes

candy canes

jute & ruffle wreath

12.15.2011

no-budget christmas decor! jute & ruffle wreath.

i wasn't sure what exactly to call this wreath, since it kinda has a lot going on... jute, burlap, felt, ruffles [some of my favorite things!].
but really, the thing i'll always remember most about this wreath is that it is made out of a pool swim noodle.

you know, one of these?
crazy, right? this is what i used... 1 pool swim noodle, 2 rolls of red-stripe jute ribbon & 2 sheets of red felt. i had the noodle & the felt on hand [don't tell my daughter i chopped up & crafted her noodle!] oh, and also a bit of duct or masking tape [not pictured]. i did spend $2.50 on each roll of jute, so it's not entirely no-budget.
trim your noodle down if it's too long to bend into a wreath shape. i trimmed about 6 inches off mine, which is really easy to do with a bread knife [very similar to cutting styrofoam]. when your noodle is the length you want, bend it into a circle & secure it with the tape. tape it down nice & tight! you don't want your wreath popping open later...
the tape spot is a perfect place to start hot gluing the jute ribbon. you don't want to glue it straight to the noodle because it will melt! glue the end of the jute ribbon to the tape & then wrap the jute until it covers the wreath.
even with 2 spools of ribbon, i had a little spot where they didn't meet. i just wrapped an extra strip of felt around it & then that's where the felt ruffle will go.

take the 2 sheets of felt & cut one sheet into 2 pieces so that you have 3 graduated strips from small to large. i totally eye-balled it, & you can trim them up until they look how you want them to!
sew a gathering stitch or do a cheater squish-ruffle through the middle of each strip of felt. now you should have 3 long ruffles! make sure they're long enough to wrap around the fatness of your wreath. adjust the length of the ruffle if necessary.
glue them around your wreath one at a time, stacking them from large to small. i just did one strip of hot glue right along the stitched line on the bottom & then wrapped it around the wreath.
this is what the back of the ruffle looks like- i ended up gluing a little rectangle of felt to cover the edges to secure them & also in case the back shows since i knew i wanted to hang it on a mirror.
i immediately hung it with a bit of another type of jute ribbon from the back of the mirror. i absolutely love love love how it looks.
it took about 2 hours, which translates to 45 minutes if you subtract child distractions & photographing the steps. i also wrapped & re-wrapped the jute about 4 or 5 times trying to make absolutely sure the 2 spools would cover enough of it that i wouldn't have to go buy another one just to finish it! the whole thing is light as a feather & cost all of $5!

here are the other no-budget christmas decor ideas:

paper snowflakes

candy canes

12.13.2011

no-budget christmas decor! candy canes.

to me, nothing beats red & white for christmas. it's just so classic, and so clean & graphic & typifies the season. more specifically... a candy cane. when you see a candy cane, you just can't help but think christmas!
i love cheap decorating with candy canes. i bought 3 boxes at wal-mart, 98 cents each for 12 candy canes. [i love bob's brand because they're just the right shape, color, and mintiness, if you decide to eat them after decorating!]

there's only one rule when it comes to decorating with candy canes... when in doubt, keep adding more. eventually there will be enough to make it look more like you did it on purpose & not like your toddler has been stashing them about the house.

really, you can do no wrong. mason jar + candy cane = insta-christmas-y & cute!
i originally wanted to make a bajillion paper snowflakes & hang them with candy canes until they obliterated the boring-builder light fixture in our dining room. unfortunately, the thing hangs so low that the face-smacking risk was high, so instead i stuck them in the hanging chain until i felt it was sufficiently covered. again, not crafty rocket science, but a little cute & colorful for a light fixture that i'm trying to ignore how much i dislike it.

boring light fixture:
light fixture with a little christmas spirit!
other fun things to do with candy canes: glue them around your candles or a wreath, or just set them in a vase.
all of the above also goes for little round peppermints: throw them in a bowl with some ornaments as a quick centerpiece
you could even use your friend the humble candy cane to make a gift! here's an idea. the dollar tree has some very plain, simple glass hurricanes/vases in the perfect height and shape for using with candy canes! all it takes is one vase, candy canes, hot glue, & a bit of ribbon.

just set the glass level on the table so that the candy canes are all even- you want it to still sit flat even with the candy canes around the bottom. then gently glue them hook-side down with a long strip of hot glue.
glue them all the way around, spacing carefully, until your vase is covered.
add a bit of ribbon & you're ready to use it as a centerpiece or give it as a gift to your favorite hostess-y homemaker! this one cost me all of about $4 to make, including putting a candle in it.
you could give it with a candle in it, or even some pretty red flowers. i've also seen it done with the hooks pointing upwards like this:

here's the full list of no-budget christmas decor ideas so far:

paper snowflakes

12.12.2011

no-budget christmas decor! paper snowflakes.

if my budget for christmas crafting/decorating was next-to-nothing last year, i must admit it is literally nothing this year. this year, unlike any we've had before, is a use-what-you-have, really get creative, necessity is the mother of invention kind of year when it comes down to it. we've got tons of blessings to be thankful for, but extra cash for decorations just isn't the priority, you know?

so allow me to introduce a mini-series of sorts, if you will... the no-budget christmas crafts series! my next few posts will be all about how to make a few fun things basically for free, a few special additions to your tried & true traditional christmas decorations.

today's craft was a bit of an afterthought. we were cleaning/sorting/rearranging our desk area & the hubs handed me a couple of sheets of plain white printer paper. instead of putting it away with its kind, i quickly stuck it in my 3 year old's stash of paper that she's allowed to create upon. she's totally obsessed with scissors right now, and when i sat to play "cutting" with her, i thought some paper snowflakes might be nice!
i attempted one of these cute ones from life is sweet [found via pinterest, i believe?], but really all i did was fold them up & cut cut cut. really, you can do no wrong. i started with different sizes of paper so i'd have a couple different sized snowflakes. here was my favorite bigger one:
and my favorite little one:
here's where we decided they needed to live, on top my ballard-inspired corkboard above the desk. [i have a tutorial coming soon for that corkboard, it's just not quite done yet! can you see the spots where the nailhead trim is missing? hopefully the snowflakes have strategically covered them.]
they were so pretty & such an instant-gratification craft, i ended up making a couple more. and i'm already brewing ideas on how to store them away & save them for next year. try to fold them back up? glue them to some sort of cardboard backing?
all these took was some plain white paper & scissors. if you have those on hand, then they're completely free! i'm thinking now they might need some book page snowflake friends?

11.10.2011

craft & bake 2011!

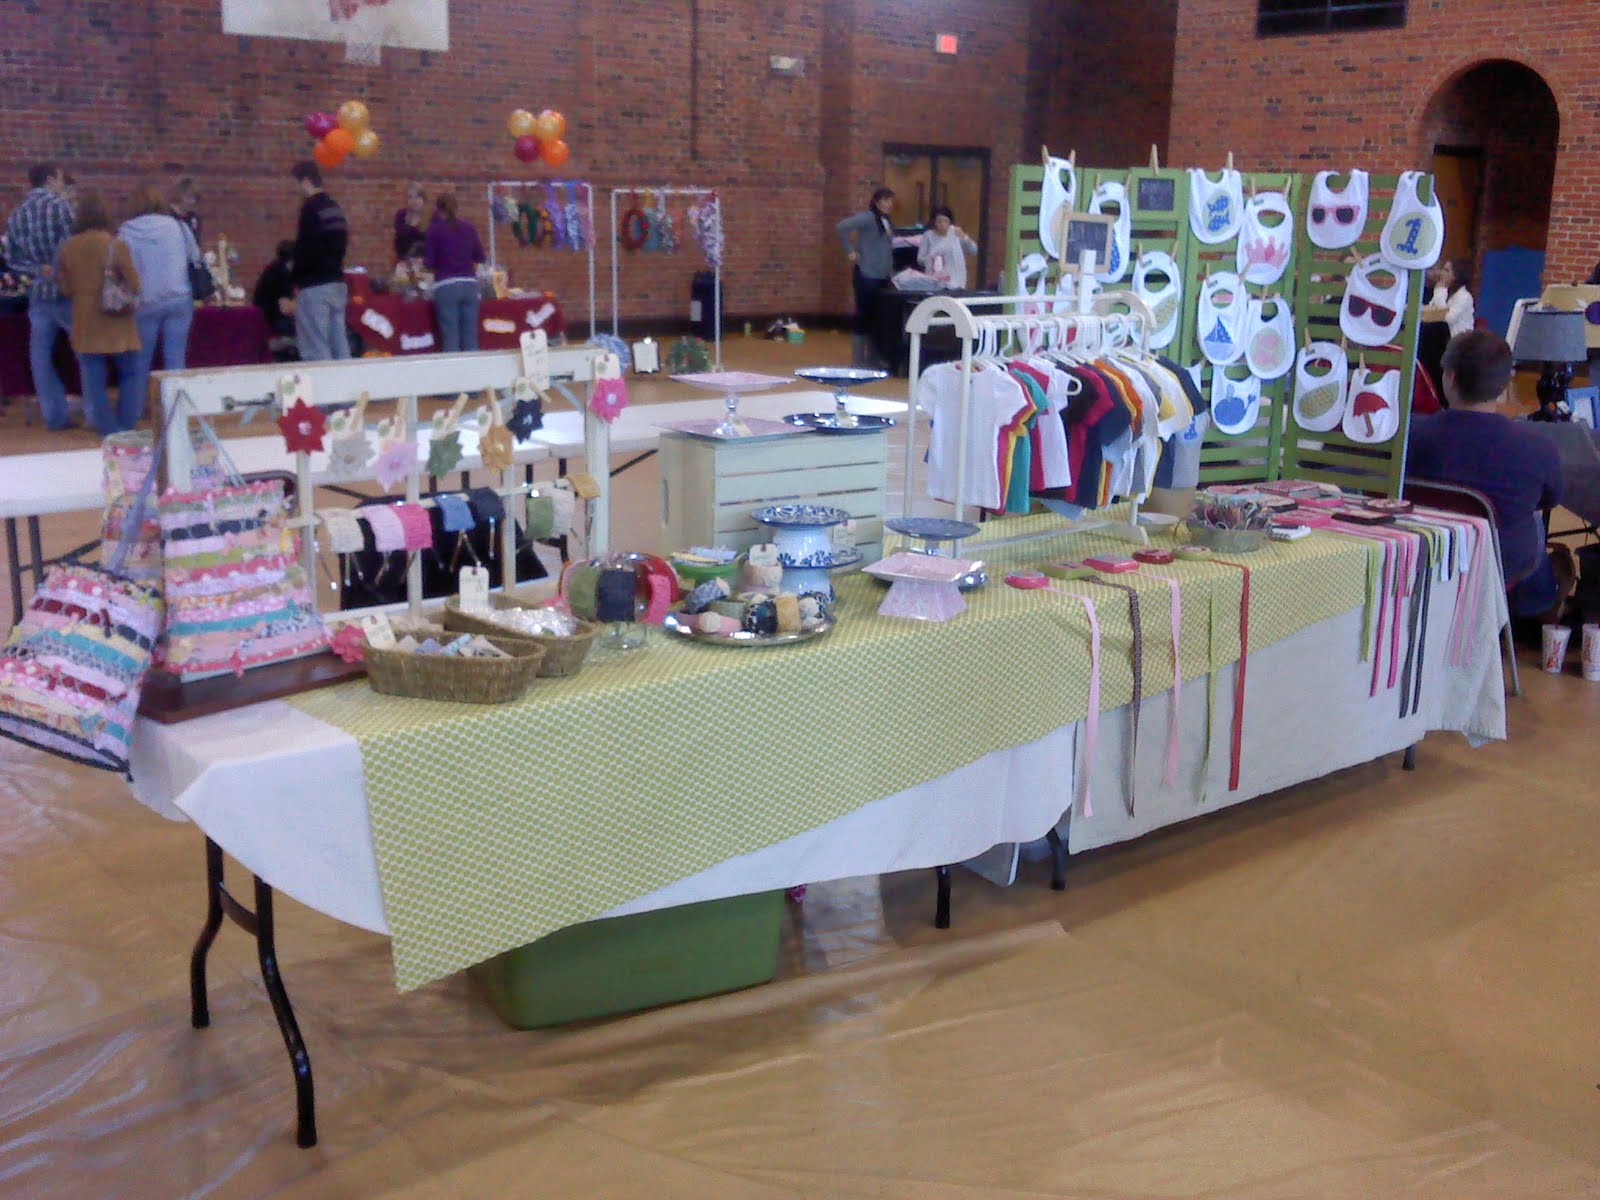
the one thing i forgot to bring in all my packing up for the show was my camera! so all i've got are these terrible little camera phone photos. it was such a bummer because i was pretty happy with my set-up this year. i guess it's better than nothing, right?
i decided to only do 1 show this year, & it was a no-brainer to go with craft & bake. it was a huge success last year & because it's geared towards students and their wives at our local college, it's super affordable to participate! with how much effort & work preparing for a craft show is with 2 kiddos underfoot, i've really been evaluating whether or not to continue doing craft shows at all in this season of life, & how my craft business fits into our family life (i never want it to become the other way around!).
i debuted almost all-new product, & so as a result my set-up was somewhat new if for no other reason than i had never displayed some of these products before! here are some of my thoughts & tips from this show:

  1. invest in a workhorse display piece.
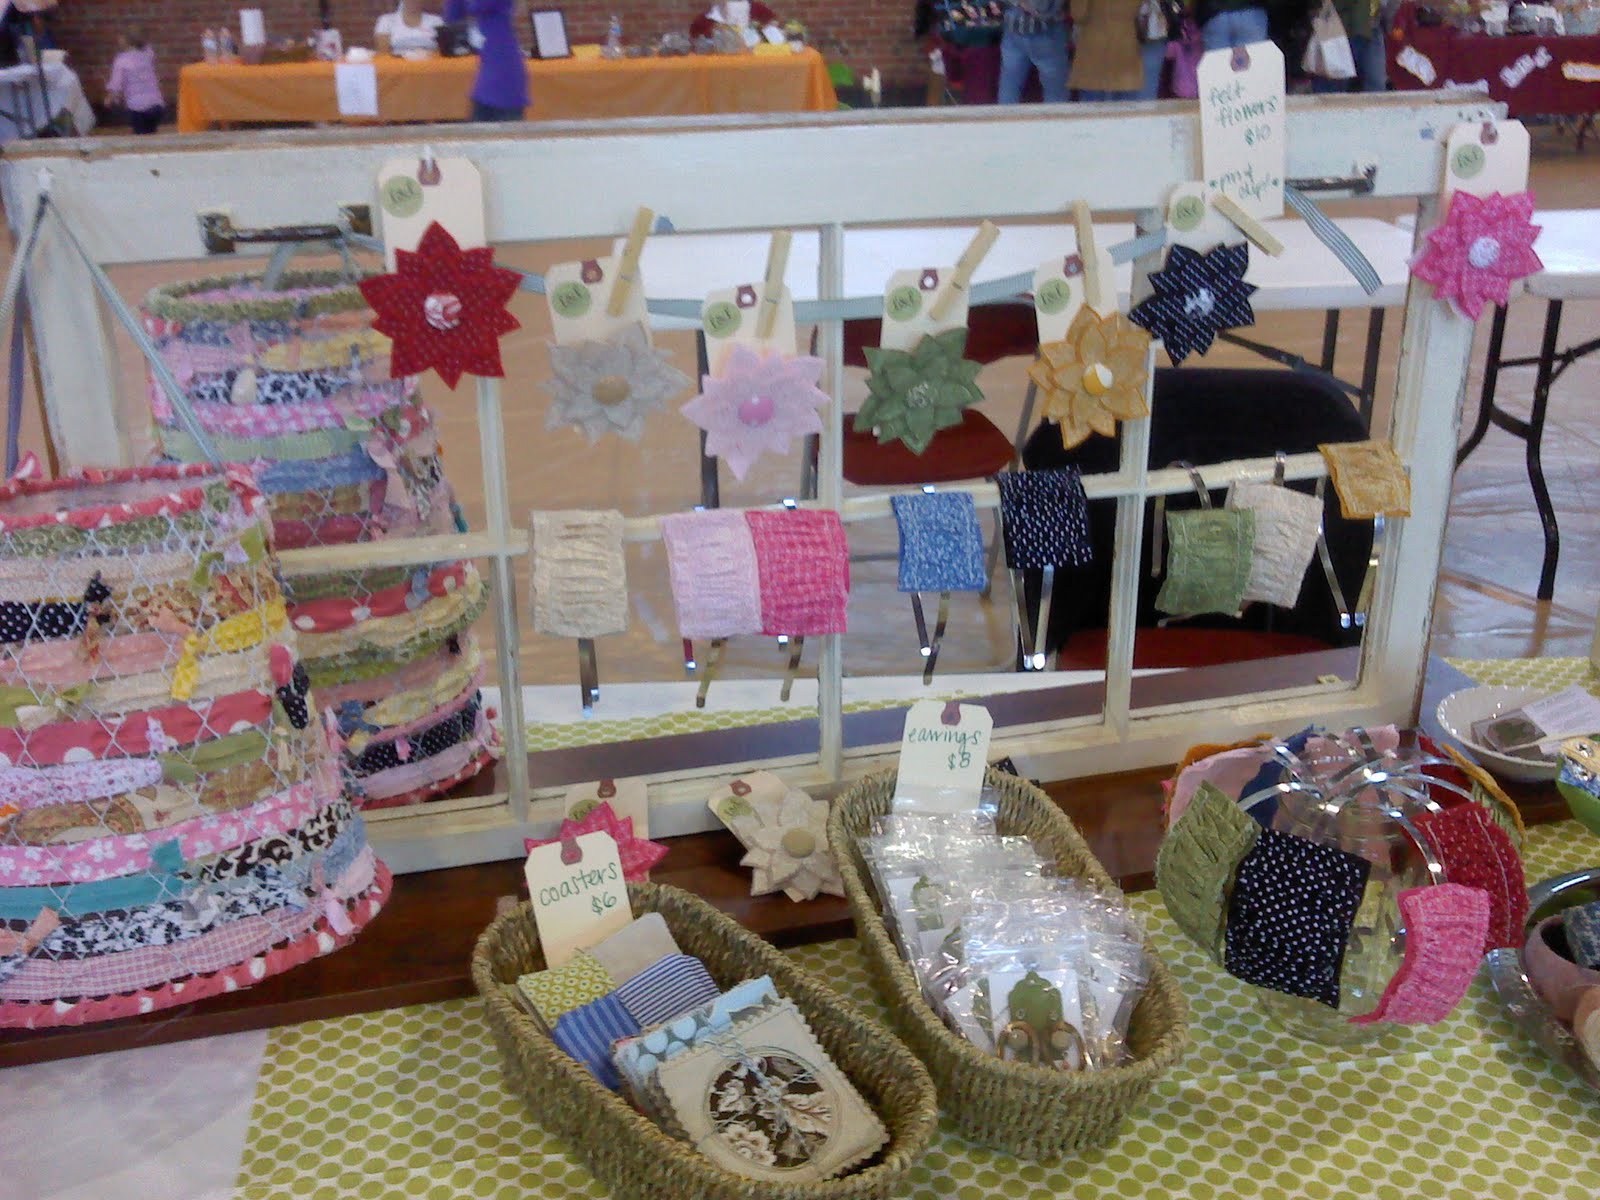
your display does not have to be expensive or fancy, in fact, i think some of the most simple displays are the most beautiful that allow the focus to stay on your lovely product. however, i've learned a few things by trial & error as i've 'graduated' from just laying everything flat on a tablecloth to trying to make it a nice display. one of the first displays i made was an old window [$20 at a flea market] attached with brackets to a piece of shelf board [$10ish at home depot]. it's a bit of a beast to carry around & fit in my car, but it is a great neutral backdrop that adds something visually interesting to my table. it's unique, but also can display a very wide variety of different products!
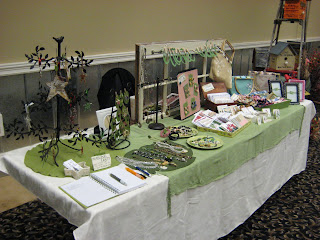
here's the post about how i made it. i've used it at almost every show i've done. these pictures show a bit of the progression of my display set-up [& products!]:
i store it on top of a bookshelf in my house until it's needed for a show- most things i use for display work double-duty decorating my home in their off time! if you're looking for fun display ideas, pinterest has so much inspiration your head will explode.

2. have a command central.

ie: a little space where you can keep your show essentials handy but hidden from your overall display. mine is this little crate [the $10 kind from michael's, although a weather-worn vintage one would be fantastic too if that fits your booth 'look'] spray painted green. it also pulls double-duty as part of my display, but is a perfect, secure, hidden spot to tuck my cashbox, calculator, & diet coke.

3. bring a few unexpecteds.

there are tons of great lists all over the internets about what to bring with you to a craft show, how to prepare, etc. but i will say that besides just the extra price tags & such it's really helpful to have some scissors, a roll of cute ribbon, & something that attaches quickly & easily like a clothespin. i can't tell you how many times these items have come through for me in a pinch! an example from this show: i totally forgot that i was supposed to provide a wrapped up item as a door prize. well, i picked out one of my bangles to use, but thought i had nothing to wrap it with... i put it in one of my shopping bags [brown paper lunch bag] folded it over, clothespinned it shut with a mini extra clothespin & fashioned a quick bow from my little emergency ribbon spool.
a few extra business cards inside the bag & one clipped to the bag later... not too shabby! [sidenote: whenever i include a business card in a package, i always make it 2 or 3 so that if the person likes my stuff they can keep one card & give 1 or 2 away! just a quick way to hopefully help word-of-mouth work for you.]

and just a few more notes about shows in general:

-if the table right next to you has a similar product, don't panic. people are going to like whatever they like, & attitude is everything. if you're happy with your product, you will represent it the best you can & leave the decision to the shopper. just place the item that is the most similar on the opposite end of your table from the other seller to create some visual distance. i bet no one will even notice that the items are similar!

-the economy is really, really tough right now. don't be discouraged if people seem to love your stuff but no one is buying. think of all the times you've gone to a craft show & wanted to buy someone's entire table but had to pick only 1 thing from the entire show instead. be gracious to the folks who ask for a discount on your $6 item because it's the last hour of the show, & the folks who inspect an item thoroughly while asking questions with the clear intent to go home & try to make their own. these things happen!

-always try to remember to take a photo of your whole booth all set-up. it helps you remember the set-up if you liked it & gives you big-picture perspective on some of the details you might need to change in the future- for example, i can see clearly from my photos above that i need a longer floor length tablecloth! also, larger juried shows sometimes require a photo of your set-up as part of the application process.

-always try to buy at least one thing from a fellow seller, even if only a cupcake pop as a 2pm pick me up [which i totally did. delish!]. show your support for the show & for local small business. walk around & talk to the other sellers, it's such a great way to make new friends & network!

two more photos: yay! i'm working on getting some of these new products into my etsy shop in the new year!

11.03.2011

upcoming show!

i've been a bit under the radar as usual when a craft show is approaching... craft & bake 2011 is this weekend & i've been swamped trying to get everything together! i have lots of new products i've never shown before, which is great & exciting (!!!) but thaat means i'm almost starting from scratch planning & executing an all-new table layout. pinterest has been a huge help of course & i'm so excited to see it all come together on saturday!

you can tell from my recent tweets that some hardcore crafting prep has been underway:

i'll spare you any more slightly-frightening-projects-in-progress photos, except for my dining room table piling up with finished lovelies, all ready to go!

LinkWithin

Related Posts with Thumbnails