
it didn't take me long as a momma to figure out that if any crafting around here was ever going to actually get finished, it would have to be quick & easy! but i really love giving handmade gifts, especially at christmas, so i'm trying to take advantage of every minute of naptime & bedtime.
my niece is the queen of hairbows [as we call them down here in the south!]. i think she wore one home from the hospital and hasn't gone without one since! i had already wanted to make her a hairbow holder when her mom specifically asked me to make one for her. how could i resist? this is a quick, fun, and inexpensive afternoon project that i really, really enjoyed making! you really can make it as simple or detailed as you like, and it only takes a couple of dollars in materials.
hairbow holder
you will need:
about a yard of 1-2" ribbon [something sturdy-ish like grosgrain]
a little wooden plaque [about $1 at the craft stores]
a keyring or book binding ring
a bit of felt
a fine tipped sharpie
some craft paint
a glue gun or staple gun

step 1:
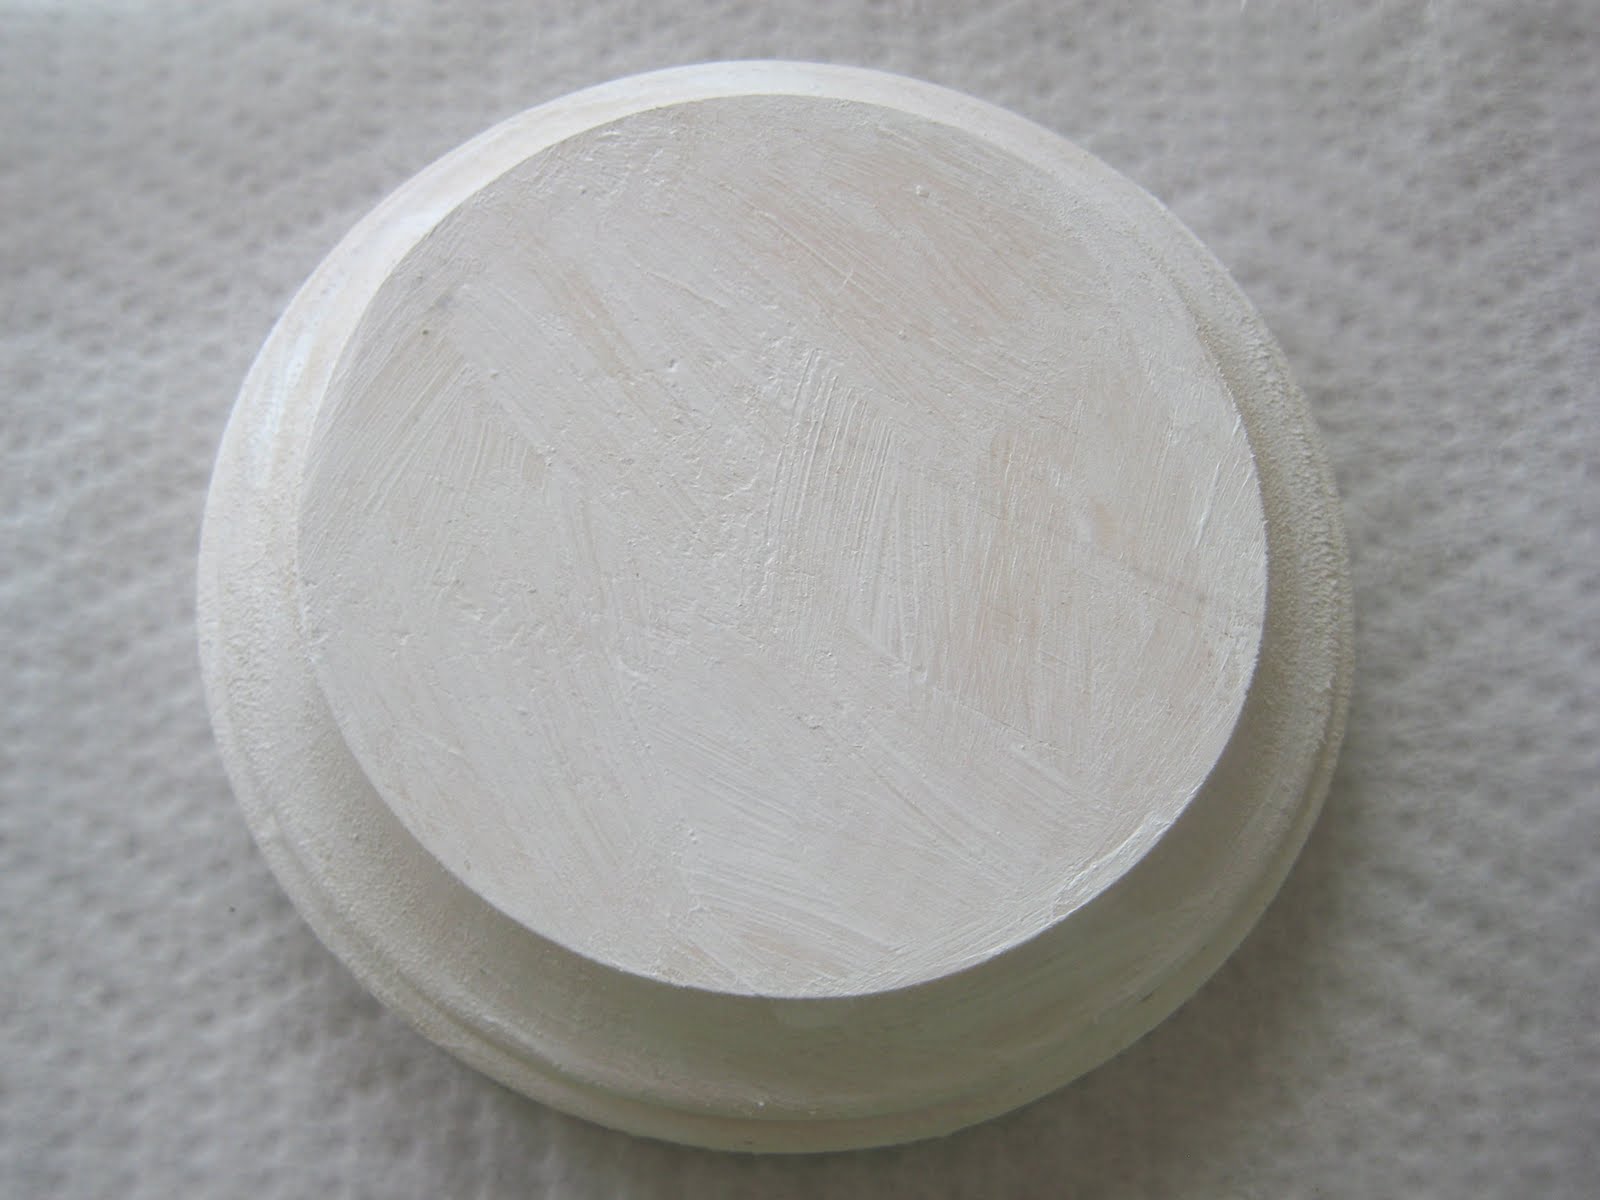
paint your wooden plaque in fun colors! i use a little bit of gesso [thick white looking paint that is meant for priming canvases] since it makes a nice smooth surface, and keeps you from having to use up a whole bottle of craft paint.
paint your wooden plaque in fun colors! i use a little bit of gesso [thick white looking paint that is meant for priming canvases] since it makes a nice smooth surface, and keeps you from having to use up a whole bottle of craft paint.
have fun with this part! think of the little girl you're making it for... her personality, her room colors, etc. add fun details like polka dots painted with a pencil eraser!


step 2:
when your paint is fully dry, add a monogram to the center. draw, trace, or use the pencil transfer method to add your letters. then outline & color them in carefully with the sharpie. [ps- you don't have to do a monogram. you could paint a flower, glue on a picture, decoupage on a pretty scrap of paper...]

step 3:
cut your ribbon to about a yard, shorter or longer depending on how many bows you want it to hold. fold one end of the ribbon over straight across & hot glue it, then fold one more time & hot glue again so that you'll have a nice, finished end.
cut your ribbon to about a yard, shorter or longer depending on how many bows you want it to hold. fold one end of the ribbon over straight across & hot glue it, then fold one more time & hot glue again so that you'll have a nice, finished end.

step 4:
attach your ribbon and hanger to the back. take the unfinished end of the ribbon & loop it through the key ring. carefully position it on the back of your plaque & use the staple gun [or glue gun] to attach it right under the ring. hot glue the felt circle over the ribbon to give the back a nice finished look & to protect the wall when it's hanging [this step is optional!]. all done!

 now you can wrap it up all pretty with either a couple hairbows and have the perfect simple gift for the sweet little bow-wearers in your life! come to think of it, this would be a super cute little girl baby shower gift... a bow holder & a "starter set" of baby's first bows!
of course, i don't have a "finished" picture as i popped this little baby into a gift bag as i was running out the door to my brother's house for christmas- it was a special request gift by my sister in law for my sweet little niece. i love love love making handmade gifts!
::: edited to add :::
my sweet sis-in-law heard my complaints & sent me a picture of the holder holding its hairbows. a photo really is worth 1,000 words for size reference/amount of hairbows it holds/ribbon length/etc. yay!

This is so cute!!! I had purchased some hairbow holders at the craft sale, and have given all 4 of them away at baby showers with some cute little hairbows! They make for a perfect gift!!
ReplyDeletePS. Do you take custom orders? Now that I am all out of my holder "stock," I have 2 more girl baby showers to go too! Will you email me at taradew@nc.rr.com?